By Todd Barron @ FoodieCuisine.com
The Mission
One of my favorite dishes is Tagliatelle al Ragù. The word comes from the French word ragôut, which derives from the word to wake up the appetite or to allow more taste. Basically ragôut is a stew of meat cooked very slowly to allow it to be edible since it starts out with very tough meats.
I mention Tagliatelle in here as typically I like to cook my Ragù with thin strips of fresh pasta which is what Tagliatelle stands for. For this dish I actually deviated from the norm though and made Orecchiette. Orecchiette is pasta, shaped into what looks like an ear.
Ragù
Ragù, when made properly is nothing like the jars of unsavory sauce you find in the grocery store. What is contained in those jars is no more a “true” Ragù than the t-bone special at a chain breakfast house is a “true” steak.
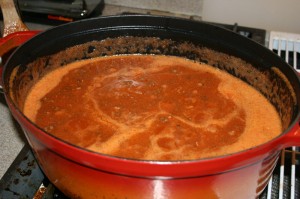
At the end of the day Ragù is taking simple ingredients, with very few spices, and cooking them down for several hours. This cooking process usually takes at least 3 hours and 6 hours is not unheard of. In fact, I cook my Ragù for about 6 hours and the one I made before this time cooked for about 10 hours. As long as you follow food safety rules, the longer the better is the general rule for Ragù.
Mirepoix
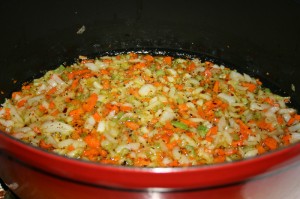
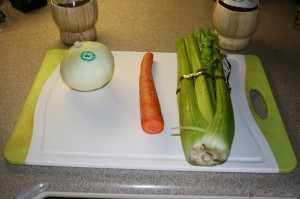
The first thing that goes into a good Ragù is the Mirepoix. Mirepoix is simply finely diced carrots, onions, and celery. In the case of a Ragù you take the mirepoix and sautee them together in a mixture of butter and oil.
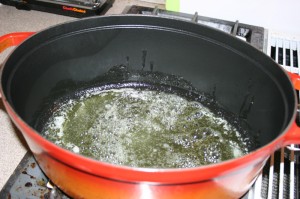
Finely dice the carrot, onion, and celery. While you are doing this, heat up your dutch oven on medium-high and put the butter and oil in it. If you take a long time to dice your vegetables you may want to watch the butter and oil to make sure it doesn’t burn. Turn down the temperature until you are ready to add the vegetables if this happens and then turn it back up.
When you add the vegetables in this is the time to add the salt, pepper, and I like some red pepper flakes to go in the mix as well. This forms the foundation of spice flavor for the dish and eventually will not have to be adjusted again once you get the system down.
Puglia Olive Oil
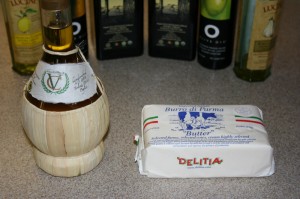
For the extra virgin olive oil I really like the olive oil from the Puglia region of Italy. I’ll talk more about it in another blog post, but needless to say it’s by far my favorite region to buy olive oil from and is what I use in this recipe. I can’t stress enough how important this is since the flavor of your olive oil will carry through to your final dish. It will get hidden the longer you cook your food, or not, but is very noticeable in things like salad dressings. You should always taste the olive oil you plan to cook with before using it. You will be surprised at how bad some olive oil really tastes. The price does not equate to flavor either. Some cheap olive oil tastes better than the more expensive oil. For this round I bought my oil from Olio2Go.
Burro di Parma
For the butter in the recipe I soley use Burro di Parma, or butter of Parma. It’s the same butter used to make Parmigiano-Reggiano cheese and has a wonderful flavor. If you can find it in your area I highly suggest you buy it for your cooking.
Once again, it’s all about the flavor and the flavor of your butter will carry through to the end of your dish. If you can’t find Burro di Parma I recommend any other unsalted butter. Land O’ Lakes makes a nice one.
Cooking the Mirepoix
By this time you should have the Mirepoix added to the simmering butter and oil. You should cook the Mirepoix for about 10 minutes and do so until it’s very tender. Be careful not to burn the vegetables or turn them dark brown. They will get a little brown around the edges but the goal here is tender vegetables, not burned ones. During this process the cooking vegetables should give off a very nice aroma. This is why they call the Mirepoix the aromatics of the dish.
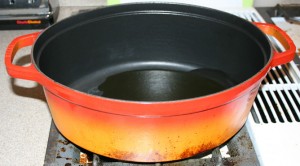
I almost forgot to talk about another important part of the dish, the pot you cook it in! I use a Staub Dutch Oven to cook my Ragù, stews, and anything I braise. This is important as you need a cooking vessel that will not burn the Ragù as it cooks slowly and you want something that will retain heat well during the slow cooking process.
If it’s too thin you will never obtain the slow-cook necessary and the wrong material can leave you with a burned Ragu. The Staub dutch oven, and others like it, are great because it is made out of cast iron with a porcelin finish.
The Meat
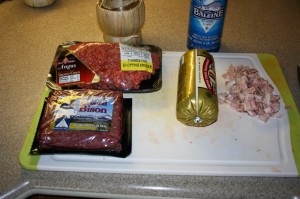
For Ragù you typically use beef, pork, and lamb. I didn’t have quick access to lamb near my house (and buffalo is lower in calories) so I opted to buy ground buffalo instead. Buffalo, or bison as it’s called, is quite common to my area and is readily available at the grocery store. I prefer ground Angus chuck beef to ground round and the ground pork is your typical Jimmy Dean sausage roll.
I like to buy pancetta that is sliced from the deli at the Fresh Market but didn’t have time to go there. I opted to purchase the pancetta from the local supermarket instead and bought the store brand. Pancetta is just Italian bacon that has not been smoked. When sliced it comes in disc form too which makes it look different than American bacon. I like it because the curing process to make it takes away some of the rubbery texture you find in American bacon.
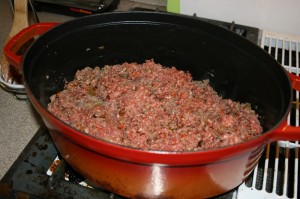
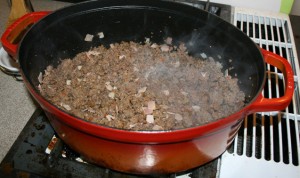
Once the Mirepoix is cooked to a very tender state it’s time to add the beef, pork, and the buffalo (or lamb if you are using it.) You are not to add the pancetta yet in this step. Chop the three meats with a wooden spoon and mix them until everything is distributed evenly in the dutch oven.
I turn my gas stove up to high at this point because you will need to brown the meat in the pot. Your stove may vary but mine requires a high temperature setting. The meat will cook for several minutes in order to obtain a nice brown crust.
Be careful to not stir the meat too soon as it will not brown and you will lose all of the flavor goodness obtained during the browning phase. You also have to be careful as not to burn the meat either though! Once the meat is nice and brown all over you then add the pancetta to the dish and let it cook down until the fat is mostly rendered out. About 10 minutes for this phase should be enough.
Tomato Paste
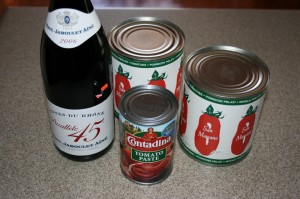
This is an area of the story where I really don’t have much to say other than it’s time to add the tomato paste to the meat and stir it around until completely incorporated. You need to let it cook for about two minutes here. There is no real brand of paste that I prefer as it all tastes pretty much the same. I happened to have used Contandina tomato paste in this instance. I’ll use it over most other things I find in the grocery store if given the chance.
The Wine
Now that the meats are browned and cooked down somewhat it’s time to add the red wine. Personally, I’ve tried five or six different red wines in this process and my favorite by far is the Paul Jaboulet Aine, Parallele 45, Cotes du Rhone.
It’s only $12-$13 US Dollars, which makes it a very inexpensive wine, and works well as a table or party wine as well. I appreciate the taste from it and what you don’t use for cooking you can drink if you so desire!
I have three to four bottles of it at any given time sitting on my cooking shelf. For this recipe add a cup of the Côtes du Rhône red wine to the dish. If you don’t drink or like alcohol, don’t worry, as all of the alcohol will burn off. Stir the meat and be sure to scrape the bottom of the pan with your wooden spoon. Your goal is to dislodge all of the brown bits of flavor stuck to the bottom of the pan. Keep doing this until the bottom of the dutch oven is nice and smooth. The wine should come up to a boil and be allowed to cook for 5-10 minutes.
The Tomatoes
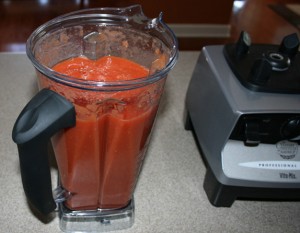
I like to use tomatoes in my Ragù and you may read how it’s not traditional to use many of them. This is true, but you know what, it tastes really good so I do it anyway. The recipe I use calls for two 28 ounce cans of peeled whole tomatoes. I prefer the San Marzano Tomatoes, Whole (Case of 12 - 28oz Cans)San Marzano Tomatoes, Whole (Case of 12 - 28oz Cans)
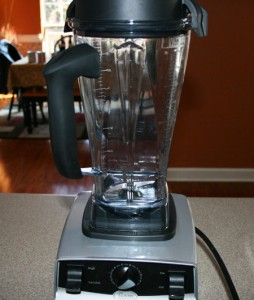
Vita-Mix Blender

Hi, I just wanted to comment on you San marzano tomatoes, actually the ones pictured are product of the USA. They are in fact San marzano tomatoes, just not grown in the Naple Region. True, imported Italian canned tomatoes have much more flavor. 🙂
Thanks for the info. I updated the story accordingly.
Thanks!